Shop

Showing 1–16 of 155 resultsSorted by latest
Advertisements
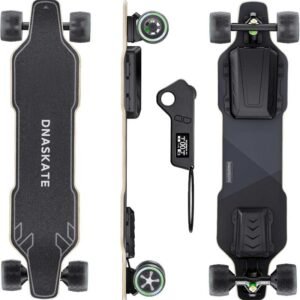
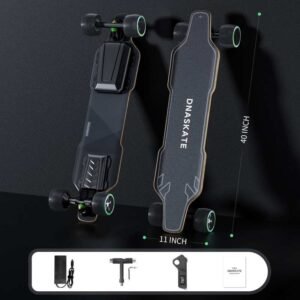


- Dnaskate V4 Electric Skateboard: The electric skateboards for adults is equipped with 2*500W hub motors, can reach speeds of up to 28mph and easy to climb 30% hill. Also it is very quiet & no need maintenance. The Electric Skateboard power is sufficient to take you from a BEGINNER TO MASTER (saving money as no longer need to purchase an advanced version).
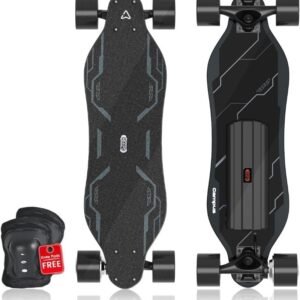
- Meepo NLS Pro: A favorite among budget-conscious riders, the Meepo NLS Pro offers an impressive performance-to-price ratio. With its dual 540W motors, this board can easily conquer hills and reach speeds of 28 mph. Its lightweight design and customizable features make it a great option for those who want a reliable ride without breaking the bank.
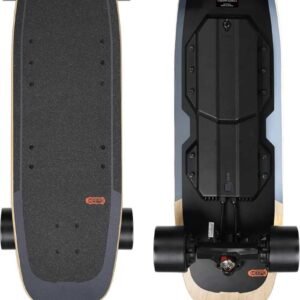
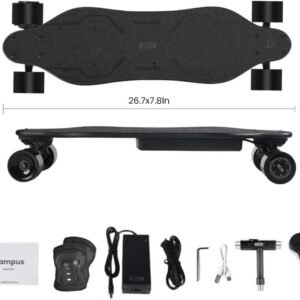
- WowGo 3X: The WowGo 3X stands out with its customizable riding modes, allowing users to tailor their experience to match their skill level. Equipped with dual 1200W motors, it delivers a strong and smooth ride, while its 12S battery provides a commendable range of up to 20 miles. Riders appreciate its solid construction and the inclusion of a wireless remote for precise control.
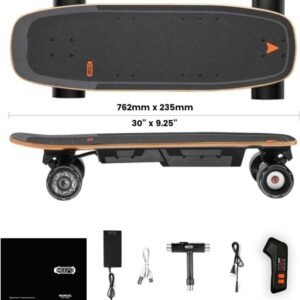
- Uditer Electric Skateboard with Remote: Powered by dual 600W hub motors (1200W total), reach a thrilling top speed of 28 MPH and effortlessly climb 30-degree hills. Perfect for urban commuting and off-road exploration, the system offers smooth, responsive, and maintenance-free performance across all terrains.
- Askate A1 Electric Skateboard: User-Friendly MR Remote with Screen: The MR remote control features a high-definition LED screen that makes it easy to monitor your skateboards battery level, view instant speed and log mileage, and offers four speed and brake modes. This makes it perfect for beginners and teens, and is both safe and controllable as well as convenient when riding.
- isinwheel V4/V6/V6pro/V8/V10 Electric Skateboard: Unique & Fun Experience: isinwheel V8 electric longboard takes you to experience the ultimate sense of speed. You can choose between slow start and sport mode, which do away with the shortcomings of traditional skateboards that take a long time to pick up speed, electric skateboards give you more boost and a new experiment. The ambient skateboard light highlights the style in the dark, making you the most unique among e-boarders.

Showing 1–16 of 155 resultsSorted by latest

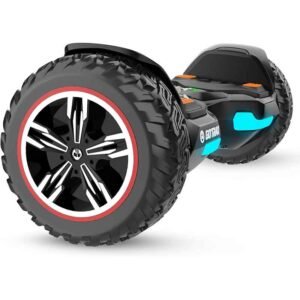
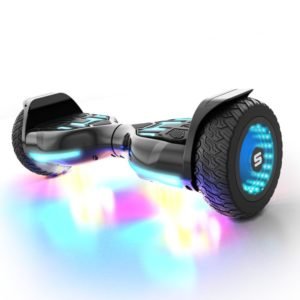
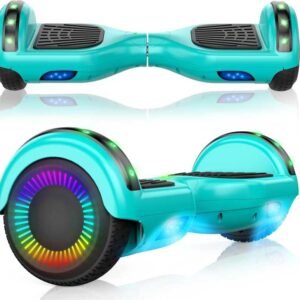
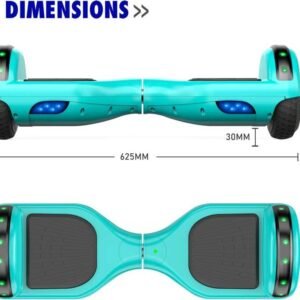
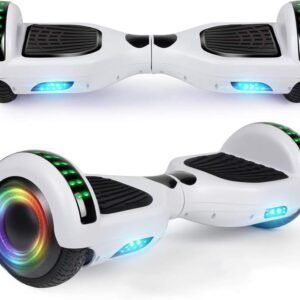
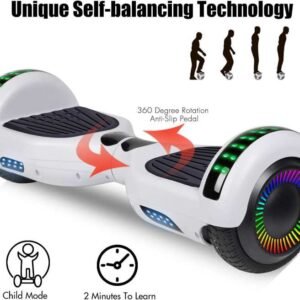
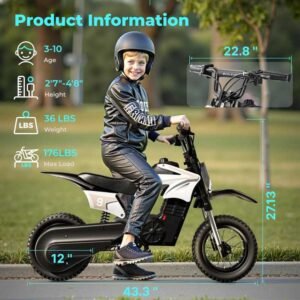
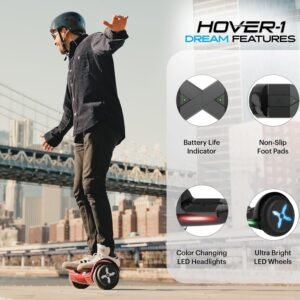
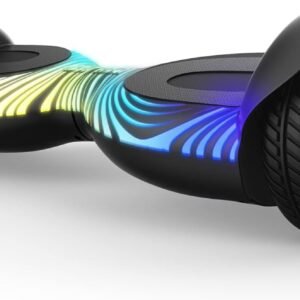
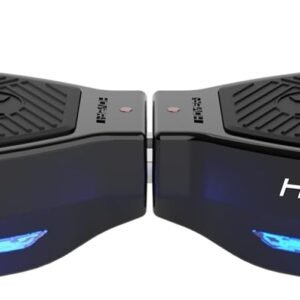
 H1 is powered by two 200W motors that enable it to climb 15 degree inclines and reach a 9 mph top speed. The 6.5″ solid wheels provide a smooth and enjoyable ride.