


Assemble Your Kuat Piston Pro X Hitch Bike Rack for Faster Trips
Kuat Piston Pro X Setup – Getting a new bike rack is exciting, but staring at a pile of metal beams and bolts can feel overwhelming. The Kuat Piston Pro X is a beast of a rack, and setting it up correctly ensures your bikes stay safe on the highway. You don’t need a mechanic’s garage to get this done. With a few basic tools and the right order of operations, you can have your gear ready for the trail in under an hour.
Preparing for Assembly and Unboxing
The biggest mistake people make is rushing into the build without a plan. If you start bolting things together without checking your parts, you might find a missing washer halfway through. This slows you down and creates frustration.
Read the official assembly guide from start to finish before you touch a single tool. The guide contains specific torque hints and safety warnings that prevent costly errors. It acts as your roadmap so you don’t have to guess which bolt goes where.
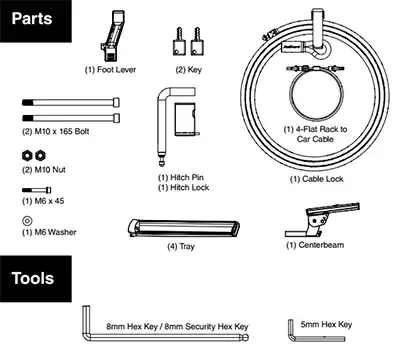
Once you’ve read the manual, clear a flat area of your driveway or garage. Lay out every component from the box. You should see the center beam, tire trays, and a bag of hardware. Group your tools together, specifically the 8mm security hex key and the 5mm hex key. This audit ensures everything arrived and puts the right tools within arm’s reach.
Kuat Piston Pro X Setup Key Points
- 🔧 Simplified one-tap lever system enables easy opening, closing, and repositioning of tire arms with a single tap, increasing user convenience.
- 🔒 Secure mounting using hitch pin and flat lock Cam mechanism ensures the rack is safely attached to the vehicle.
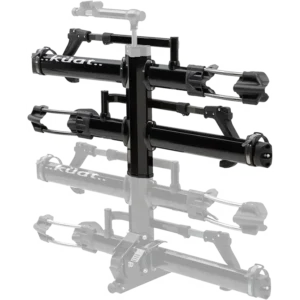
- ⚙️ Modular tire trays are labeled and easily hooked onto the center beam, streamlining assembly and adjustment processes.
- 📏 Adjustable tire cradles slide vertically to accommodate different wheel sizes and bike types, including those with fenders via accessory kits.
- 🔌 Integrated electrical connection via a flat 4-pin cable for vehicle trailer lights enhances safety and legal compliance.
- 🔑 Versatile cable lock system for securing bikes to the rack, improving theft protection and stability during transport.
- ✔️ No worries warranty and easy product registration give users peace of mind after purchase.
Installing the Center Beam and Foot Lever
The center beam is the spine of your rack. It handles all the weight and connects the system to your vehicle. If this part isn’t secure, nothing else matters.


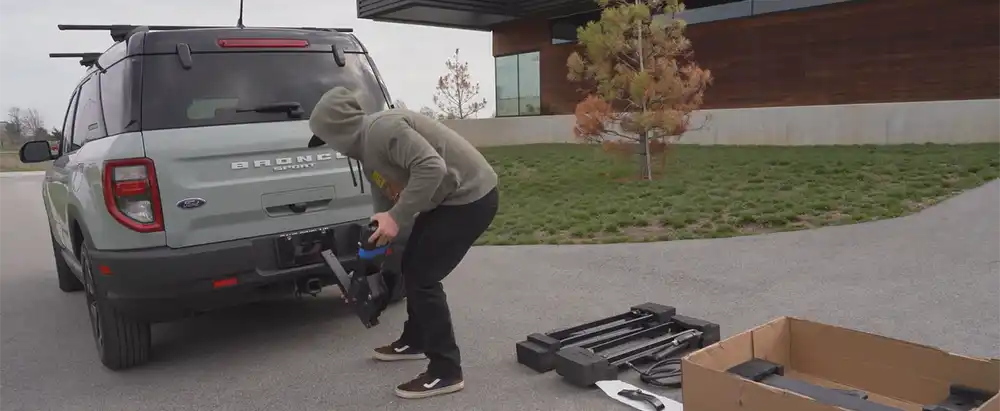
Slide the center beam assembly into your vehicle’s hitch receiver. Line up the holes in the beam with the holes in the receiver. Push the hitch pin all the way through and secure it with the hitch pin lock. This prevents the rack from sliding out while you drive.
|
|
|
|
|
|
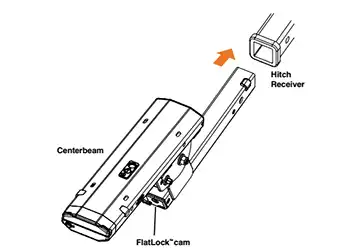
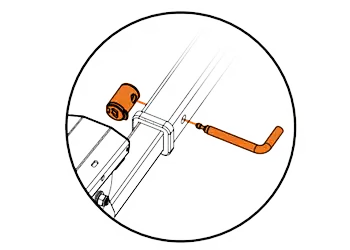
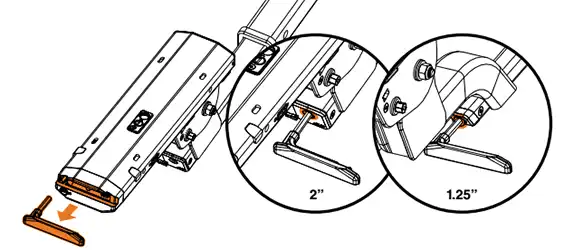
Now you need to stop the rack from wobbling. Find the 8mm security hex key at the front of the center beam. Use it to tighten the flat lock cam. This clamps the piston tight against the hitch walls for a rock-solid fit.
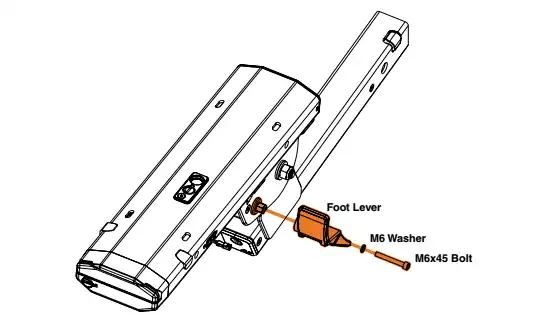
The foot lever makes it easy to tilt the rack down for trunk access. Slide the lever into its slot on the center beam. Use the 5mm hex key to install the M6 washer and M6 x 45 bolt. Tighten it firmly, but don’t strip the bolt. Test the pivot lever to make sure the rack folds up and down without sticking.
Securing Tire Trays Using the Easy Clip System
Mounting the trays is where the Piston Pro X saves you a lot of struggle. You don’t have to hold a heavy tray in one hand while trying to start a bolt with the other.
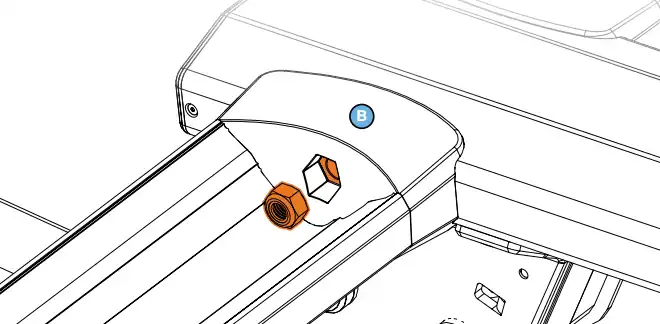
Kuat uses an Easy Clip system for alignment. Each tray has a tab that hooks into a specific slot on the center beam. Look for the letter labels on the trays and the beam.
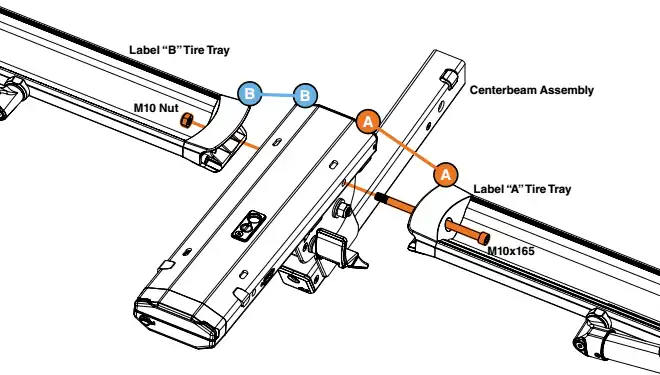
- Hook tray A into position A.
- Hook tray B into position B.
- Hook tray C into position C.
- Hook tray D into position D.
Once the trays are hanging in place, you can bolt them down. Look under each one-tap lever for a security tab. Pull these tabs upward to remove them. This unlocks the lever so you can open the arms.
Opening the arms gives you a clear path to the bolt holes. Slide the M10 x 165 bolt through the center beam and into the M10 nut on the tray. Use your 8mm hex key to tighten these until they are snug.
Wiring Integrated Lights and Managing Cables
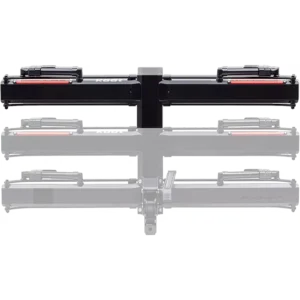
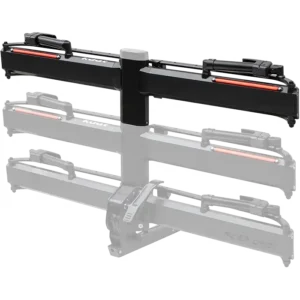
Safety on the road requires visible lights. The Piston Pro X comes with an integrated light system so cars behind you can see your bike.
Find the flat 4-pin cable in your hardware bag. Plug one end into the rear connector on the center beam. Plug the other end into your vehicle’s trailer light socket. Check your blinkers and brake lights to make sure the connection is solid.
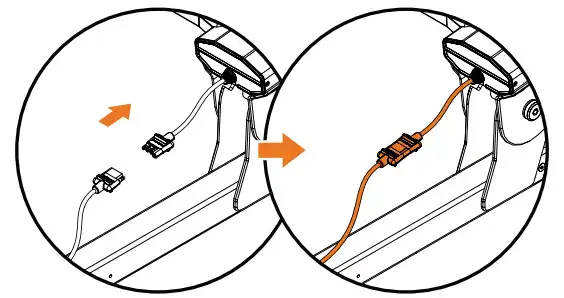
A loose cable is a trip hazard and can get caught in your wheels. Use the two magnetic clips provided in the parts bag to manage the wire. Place the magnets along the cable and snap them directly to the hitch shank and the vehicle hitch. You can slide these magnets up or down the wire to get the cleanest fit for your specific car.
Adjusting Tire Cradles and Loading Bikes
Every bike has a different frame and tire size. You need to tune the rack to fit your specific ride to prevent rubbing or rattling.
Start by opening the one-tap arms. To adjust the tire chocks, push the tabs inward. This allows you to slide the tire cradle up or down the arm. Match the cradle to your wheel size and make sure the tabs click fully into the notch. If you have fenders on your bike, check the user guide QR code to buy the fender accessory kit.
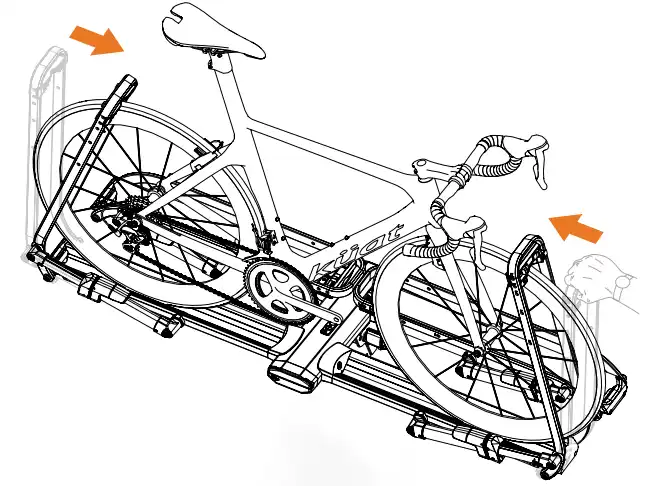
Loading the bikes is straightforward. Set the bike on the tray and close the arms until they make firm contact with the tires. If two bikes hit each other, you can load them asymmetrically or face them in the same direction. You can also shift the bikes left or right on their trays to find the perfect clearance.
Don’t forget the security cable. Thread the cable through the rear wheel frame and the front wheel. Loop the cable and snap the tip into the lockport on the center beam. This keeps your bikes from being swiped while you’re at a trailhead.
Utilizing Negative Positions and Warranty Registration
The one-tap system does more than just hold tires. It allows you to move the arms out of the way for better access.
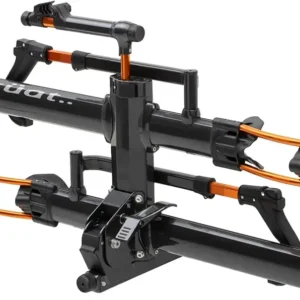
If you use an e-bike ramp, you need to put the arms in a negative position. Tap the one-tap lever to open the arm, then pull the arm down. This clears space for the ramp or lets you unload the second bike without moving the first one. To return the arm to the towing position, tap the lever to release the tension and pull it back up.
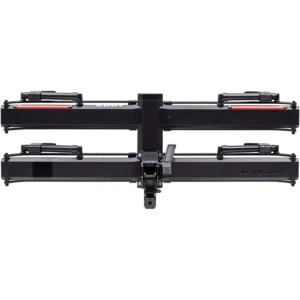
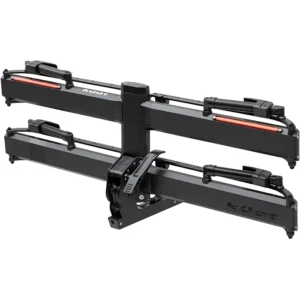
Now that the build is done, take a moment to handle the paperwork. Find the registration info in your box and register your rack online. This activates the no-worries warranty. If a part breaks or fails, you’ll want that coverage in place.
Download: Manual Piston Pro X Setup
Final Thoughts
Kuat Piston Pro X Setup – Assembling the Kuat Piston Pro X doesn’t have to be a chore. By organizing your parts first and following the lettered tray system, you avoid the most common setup mistakes. Once the center beam is locked, the trays are bolted, and the lights are wired, you have one of the most secure racks on the market.
Double-check your bolts one last time before your first trip. Make sure the magnetic cable clips are tight and the security cable is locked. With your rack registered and your bikes dialed in, you’re ready to hit the road. Grab your gear and get outside.
| Bike Rack Collections Near You | |
|---|---|
 |
 |
| Get Amazon Special Offers | Get Walmart Special Offers |
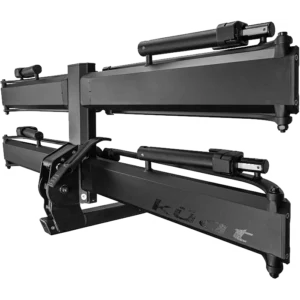
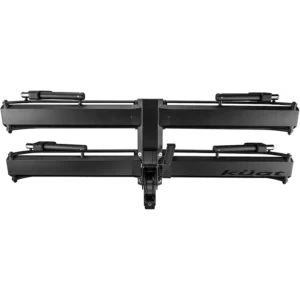
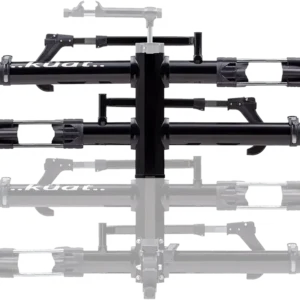
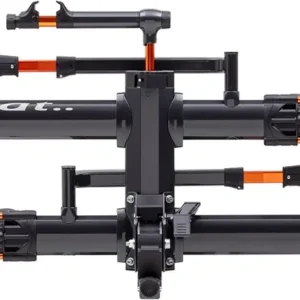
FAQs About Kuat Piston Pro X
Do I need any special tools to assemble the Piston Pro X rack?
The rack assembly uses included hex keys (5mm and 8mm) and parts, so no additional tools are necessary.
Can I adjust the tire trays for different bike sizes?
Yes, the tire trays and tire chocks are adjustable vertically to fit various wheel sizes securely.
How do I secure my bikes to the rack?
Bikes are secured using cables threaded through wheels and frames, then locked to the rack’s lockport.
Is the electrical cable compatible with all vehicle trailer sockets?
The flat 4-pin cable plugs into standard vehicle trailer light sockets; if unsure, verify compatibility with your vehicle.
What if I have bikes with fenders?
The user guide provides a QR code to purchase an accessory kit tailored for bikes with fenders.
You Might Also Like
- Is a Kuat Bike Rack Worth It? The Honest 2026 Buyer’s Guide
- Most Reliable Hoverboard Brand: Your Ultimate Buyer’s Guide
- Gyroor Hoverboard Self Balancing Scooter
- FLYING-ANT Self Balance Scooter 6.5″ with Speaker
- CBD Offroad Scooter 8.5 inch with Colorful LED
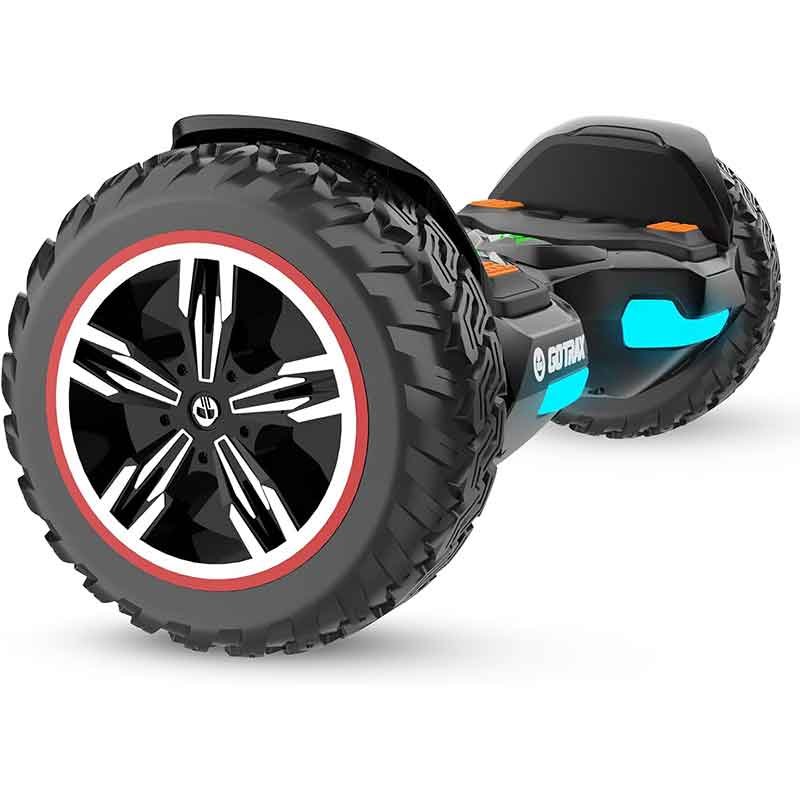


 H1 is powered by two 200W motors that enable it to climb 15 degree inclines and reach a 9 mph top speed. The 6.5″ solid wheels provide a smooth and enjoyable ride.